
Appearance
Connect to AutoCount
A new company starts empty. Connecting it to AutoCount brings in your items, customers, and prices — and keeps them in sync from then on. You do this once per company, on the machine where AutoCount runs.
1Install the plug-in
The B2B Ordering plug-in is not on AutoCount's public plug-in list yet, so contact us for the installer.
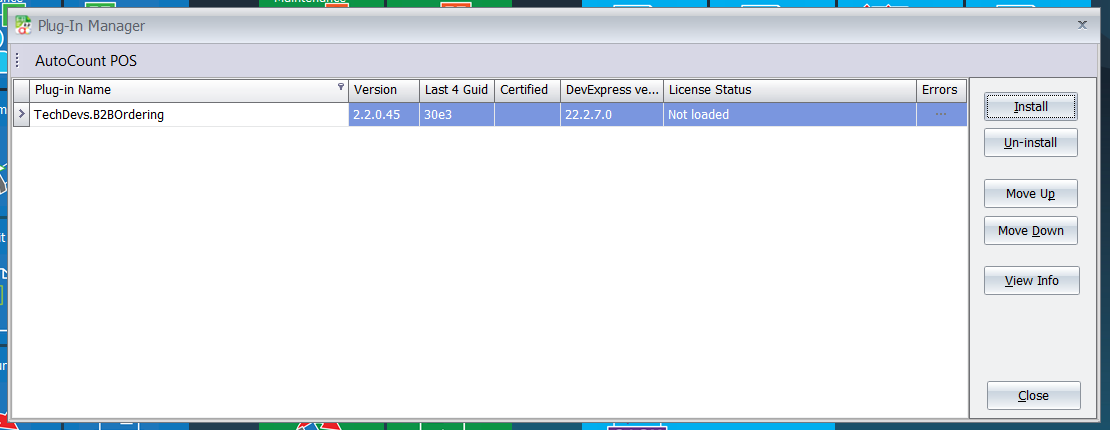
Once you have it, open AutoCount's Plug-In Manager, select TechDevs.B2BOrdering, and choose Install.
2Give your user access
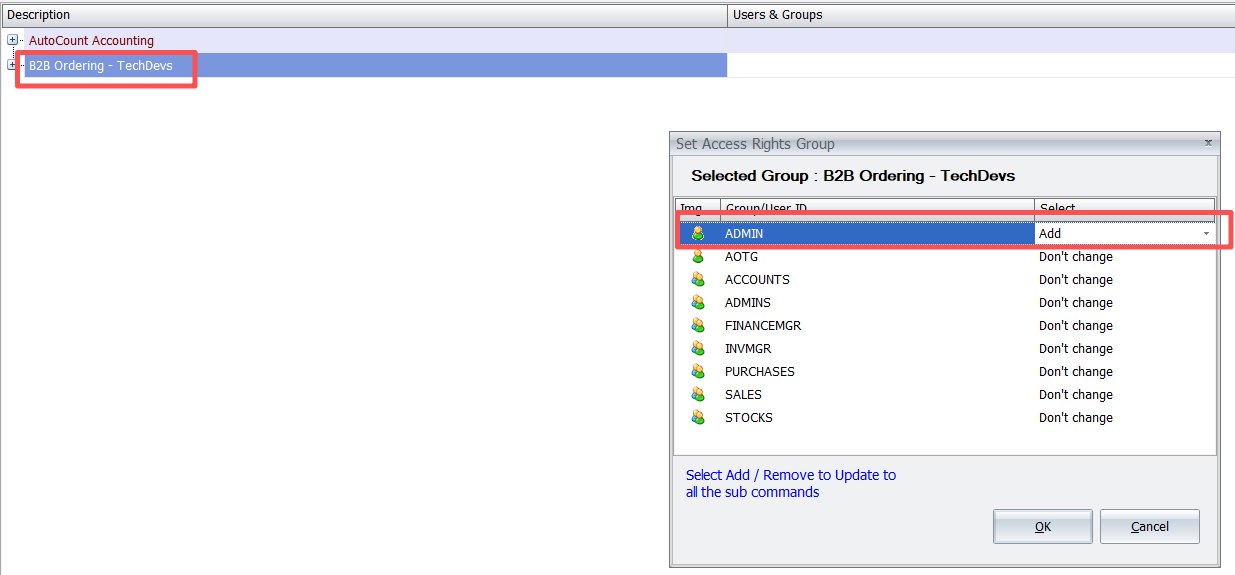
The plug-in installs with no access rights, so nobody can see it yet. Open Access Rights Maintenance, select the B2B Ordering - TechDevs group, and choose Set Group Access Rights. Set your user — or a group your user belongs to — to Add, then select OK.
Sign out of AutoCount and back in. The menu only appears on a fresh login.
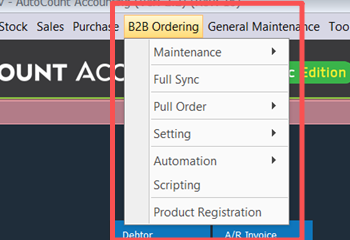
B2B Ordering now sits in the menu bar:
3Connect the company
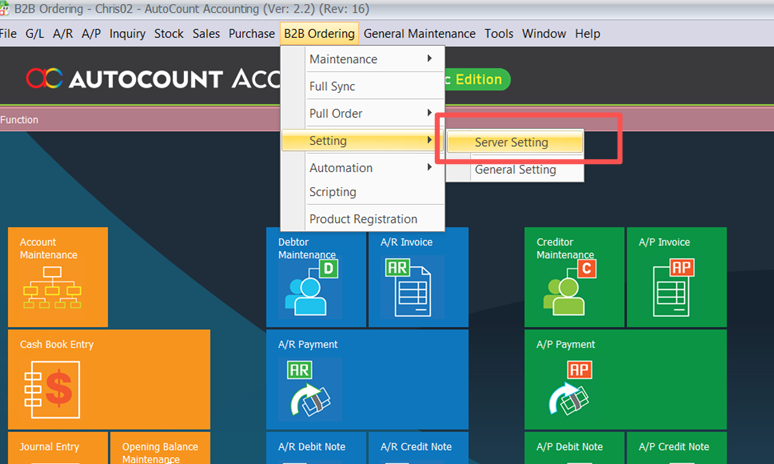
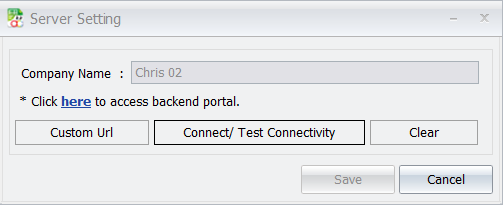
Open B2B Ordering → Setting → Server Setting.
Choose Connect / Test Connectivity.
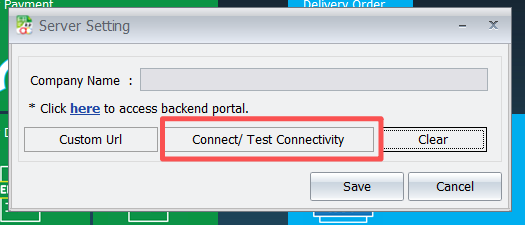
Your browser opens and asks you to sign in.
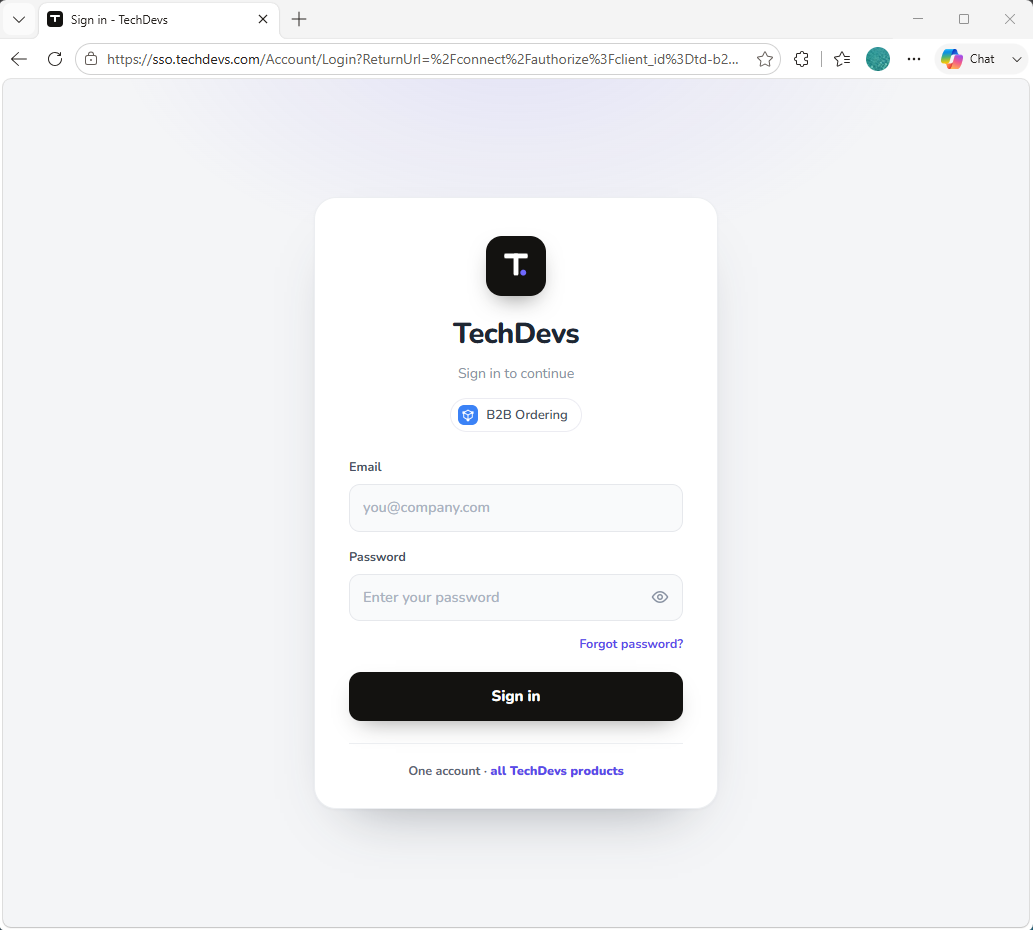
Safe to sign in on a customer's machine
Your password is never stored on the computer. AutoCount is handed a connection token and nothing else, so signing in here does not leave your credentials behind.
Choose the company this AutoCount installation should feed, then select Connect.
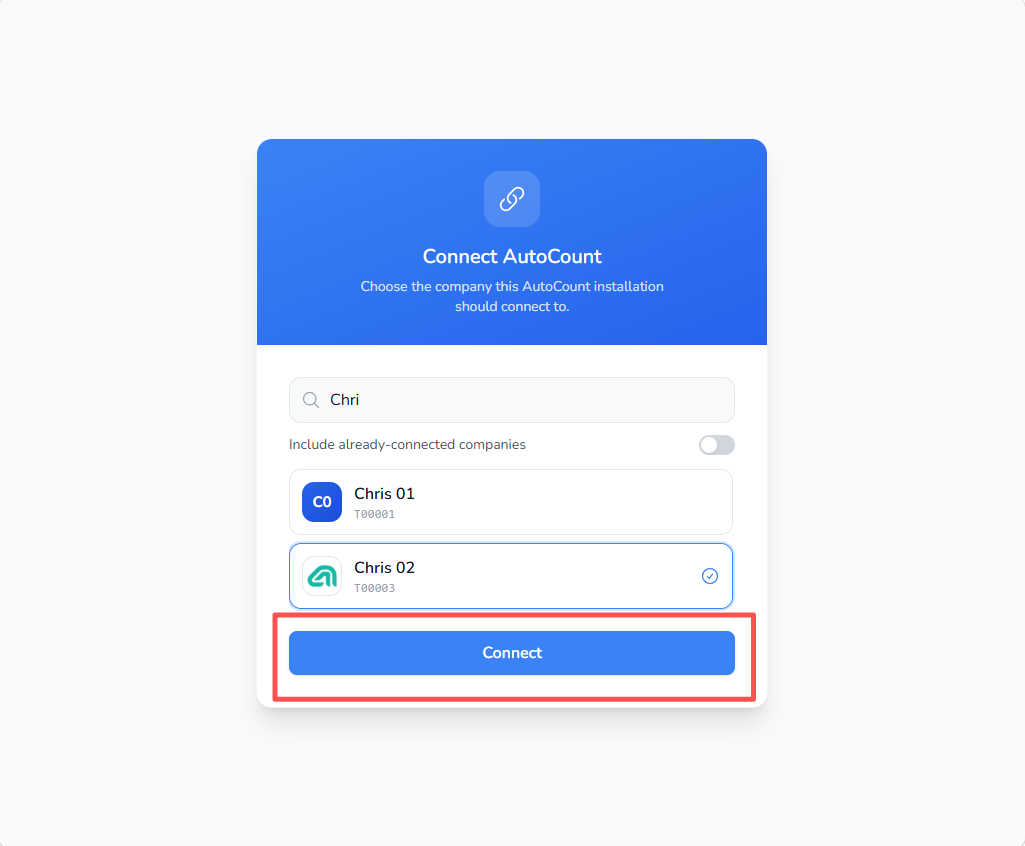
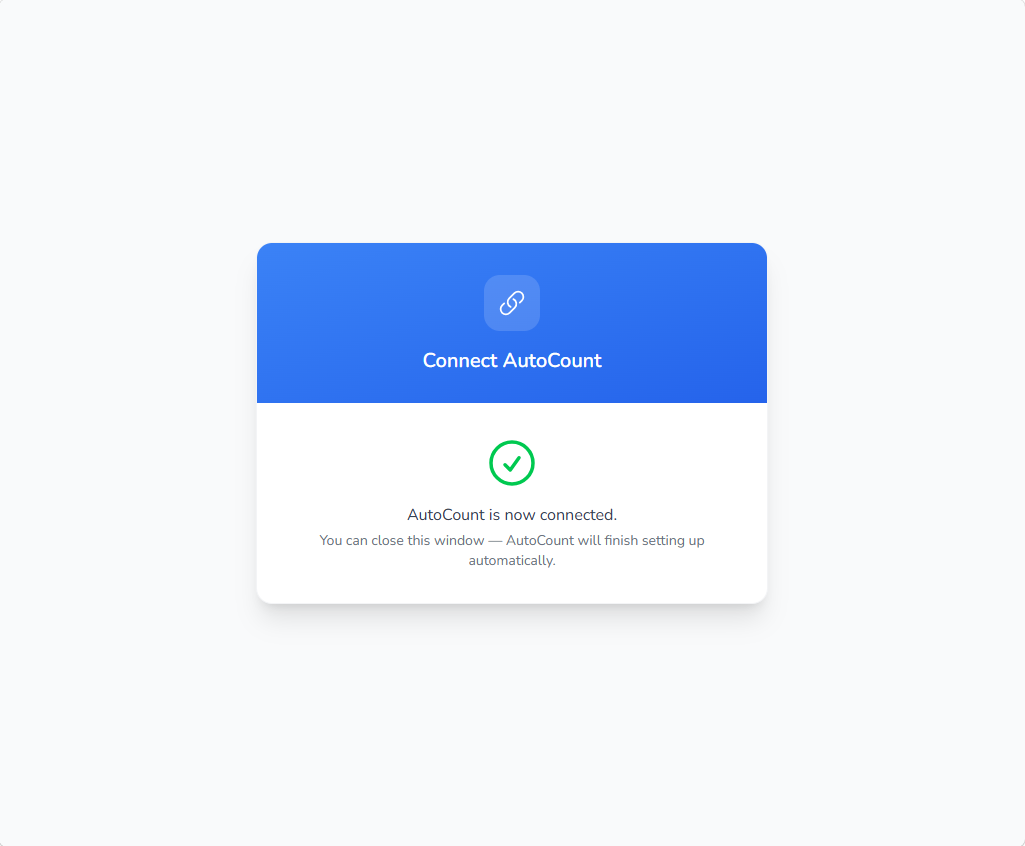
You can close the browser. Server Setting now names the company it is connected to.
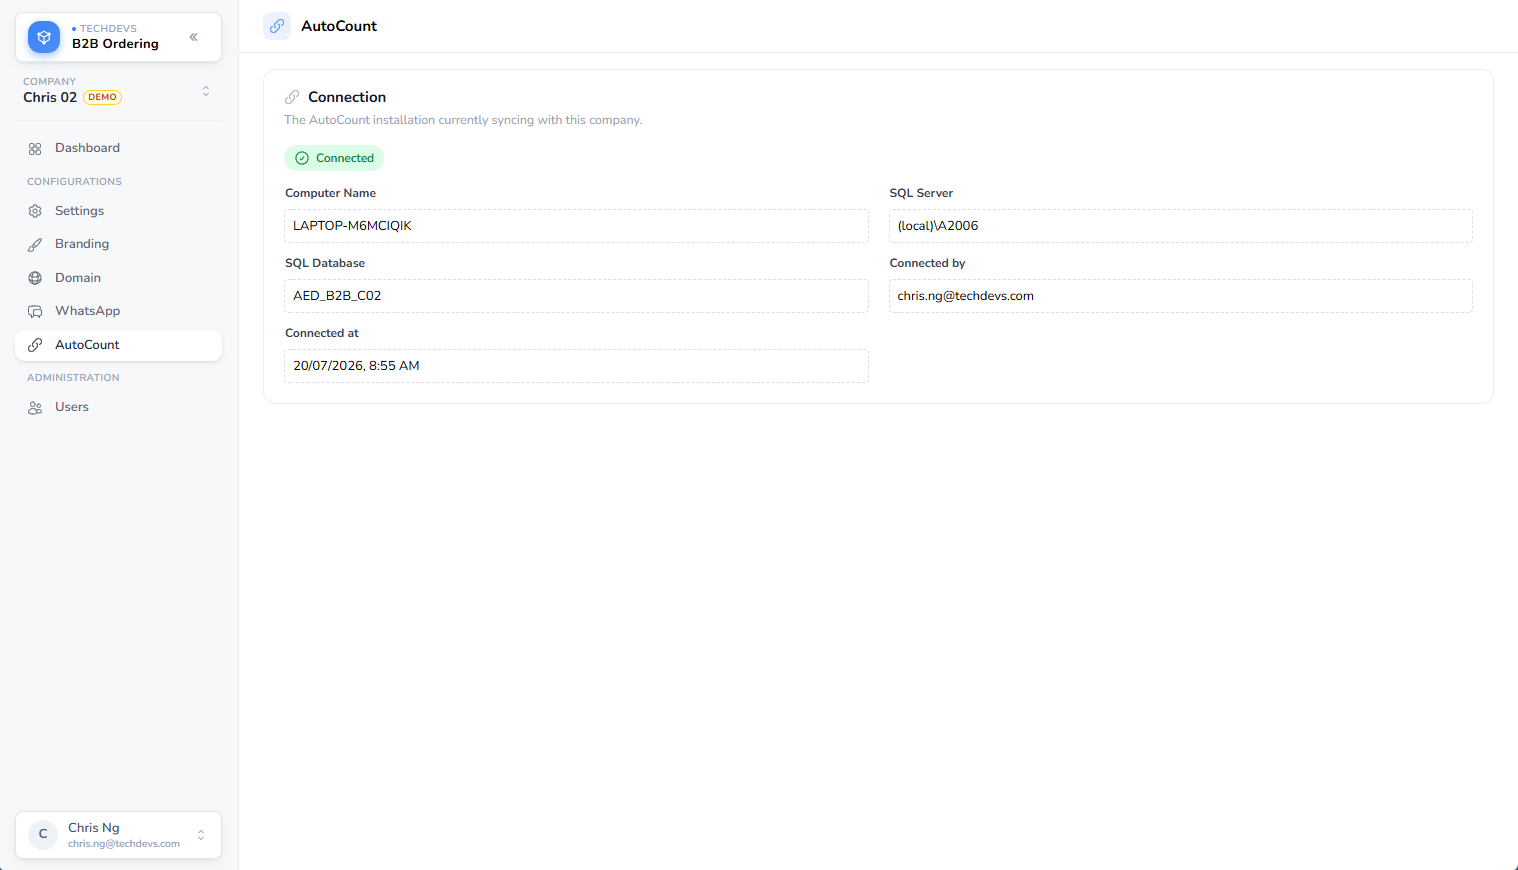
Select here to open that company in B2B Ordering, where the connection is set out in full — which computer, SQL server, and database are syncing, and who connected it, and when.
4Install the Windows service
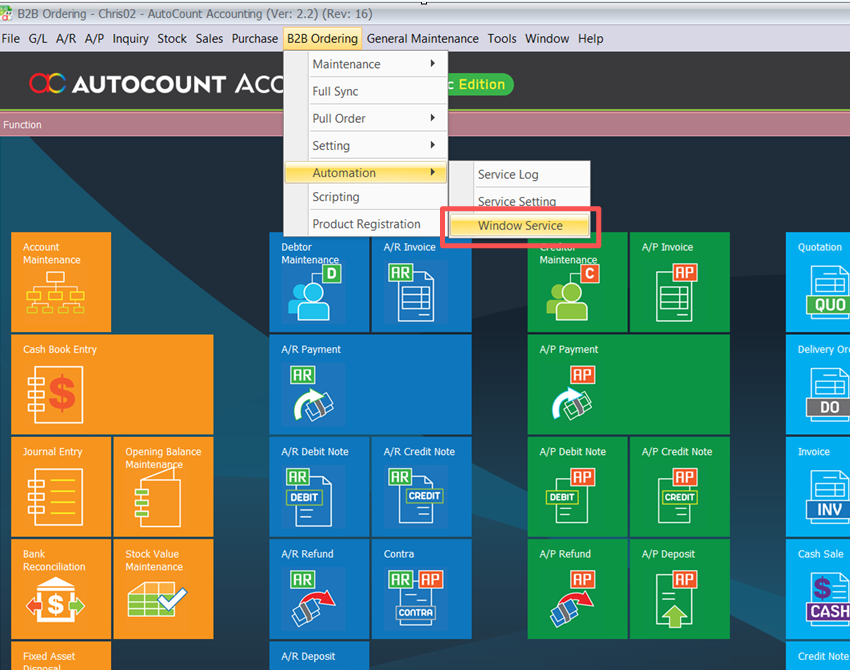
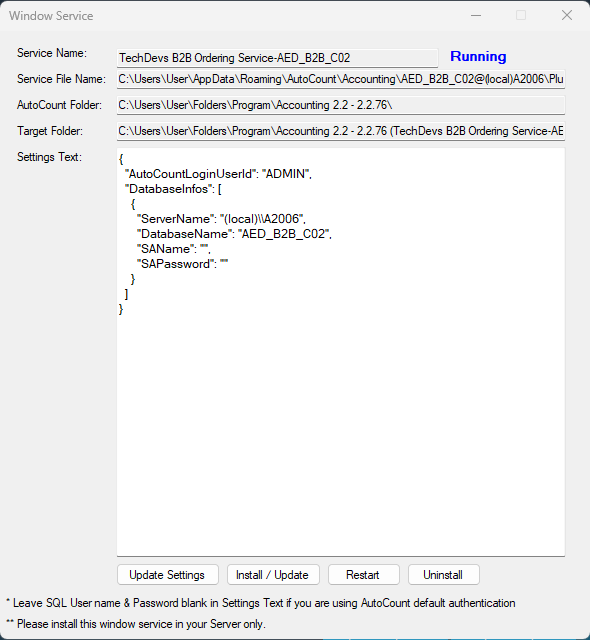
The service is what keeps data moving once setup is done. Open B2B Ordering → Automation → Window Service.
Choose Install / Update.
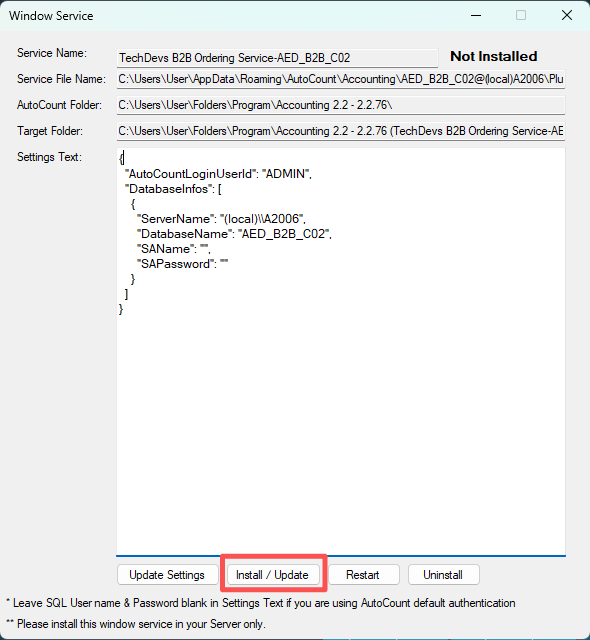
It takes about 30 seconds, after which the status reads Running.
Install the service on your server only
Run this step on the machine that hosts your AutoCount database, not on each workstation.
5Run a full sync
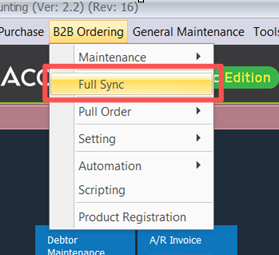
With the service running, send your existing master data across: B2B Ordering → Full Sync.
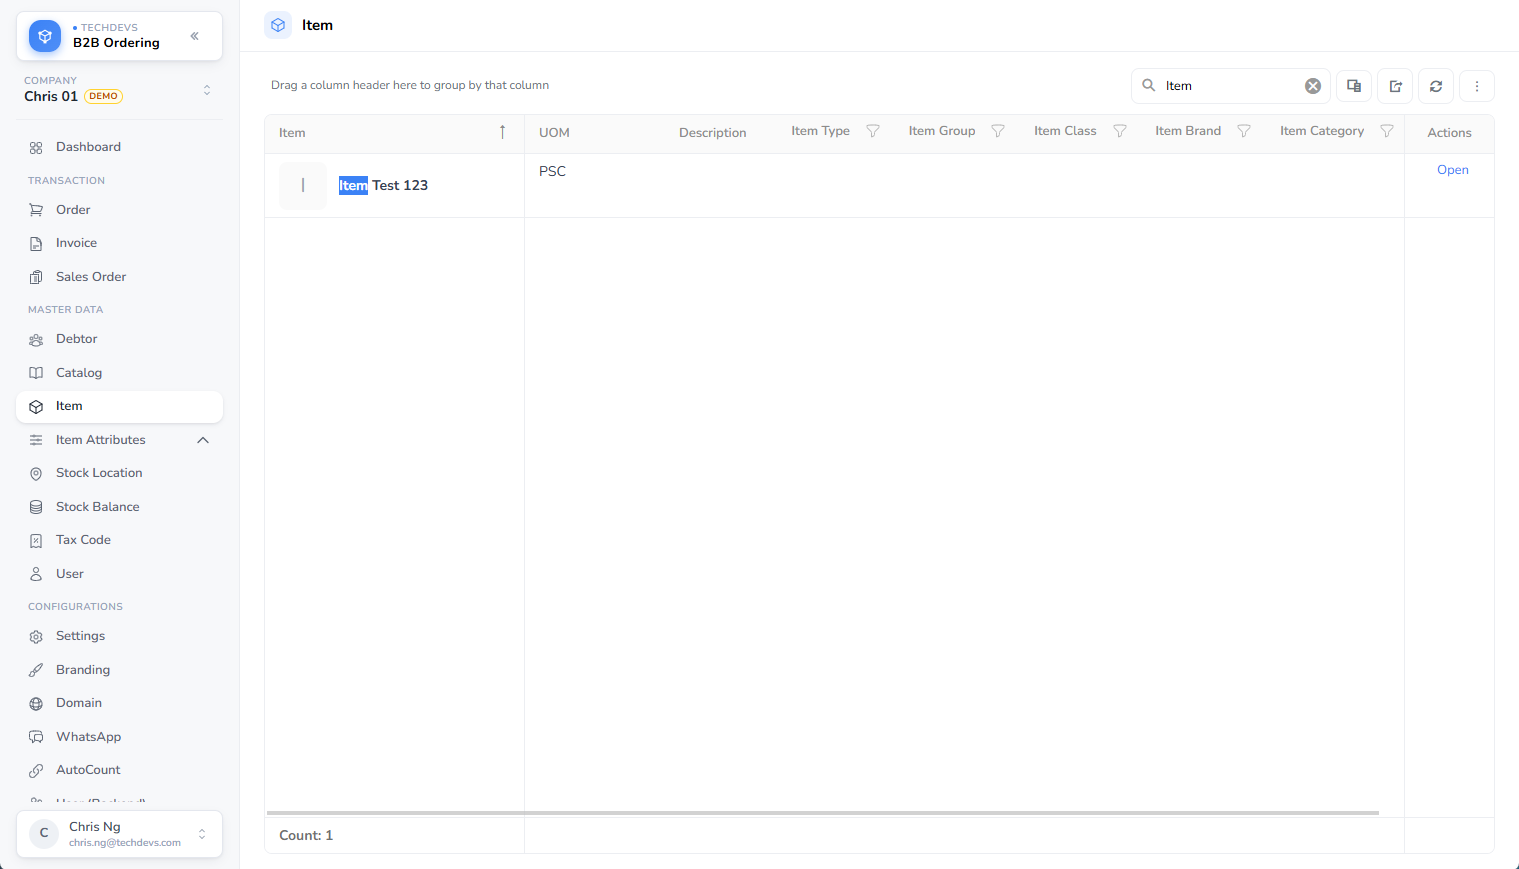
Your items, customers, prices, and the rest are copied into B2B Ordering. An item in AutoCount —
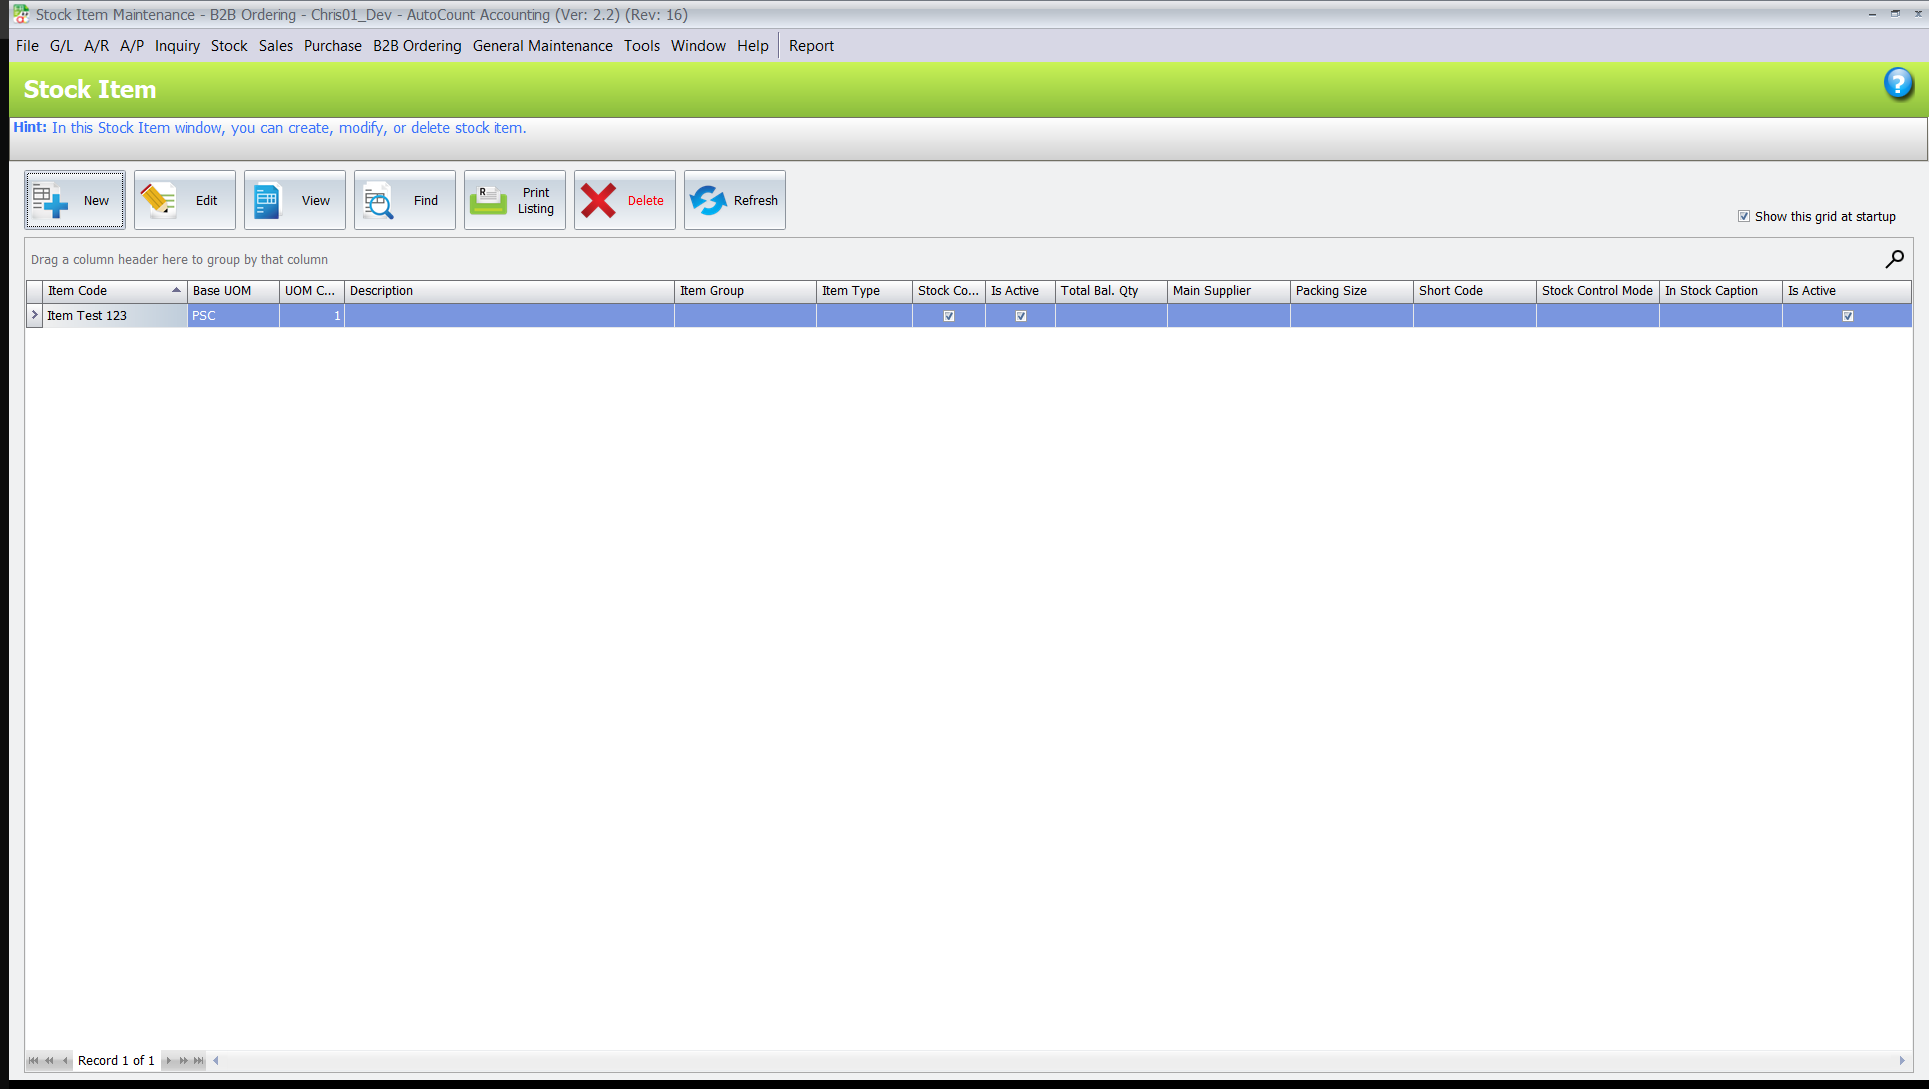
— now appears in B2B Ordering:
From here the service keeps the two in step, so you only need a full sync when you want to send everything again.